How To Upgrade To Universal Analytics: A Survival Guide
An icy storm gathers in the North. Winter’s first frigid gales bring harrowing legends of server-side configurations, custom dimensions, and cross-device tracking. Web analysts shiver with fear, ill-prepared for the creeping frost. There is nothing to stop it now. Universal Analytics is coming.

At this year’s GA Summit, we heard a major announcement that a migration tool (affectionately called an “upgrade tool”) will one day soon allow users of Google Analytics’ asynchronous code to port their data into Universal Analytics. With a couple of clicks, it will be possible to visit the Admin section and upgrade your existing properties to Universal Analytics (UA).
From a screenshot shared at the Summit:
All Google Analytics properties will soon be required to use Universal Analytics. Properties that aren’t upgraded will be auto-upgraded to Universal Analytics in the future.
[Shiver]…
What was not announced was a timeline for such an upgrade tool. We should assume it is on the way “soon”, with the auto-upgrade feature not far behind.
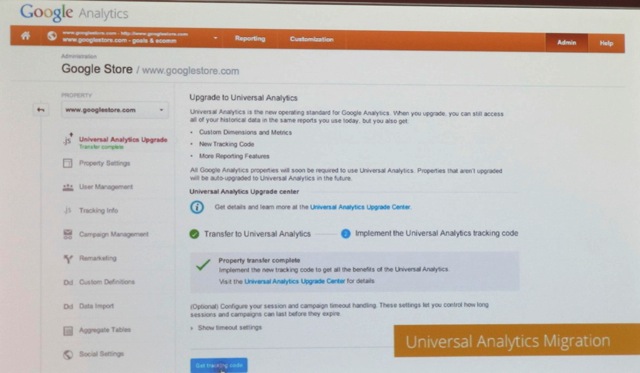
The forthcoming upgrade tool inside the GA Admin. Slide from the GA Summit. Credit: Jeffalytics
Let’s be clear: Universal Analytics is an amazing improvement over the asynchronous version of Google Analytics. Given the choice when creating a brand new property in GA, there should be no hesitation: Universal Analytics is the way to go.
But what if you have existing data in a legacy asynchronous property… perhaps a property that’s been tracking for years? What if you have custom events, virtual pageviews, cross-domain tracking, or one of a thousand other configuration settings in place across your website?
You’re going to have to upgrade… ready or not. What can you do?
Be proactive.
Even before the Universal Analytics Upgrade Tool is released, you should begin the upgrade process — right now. Why? Because you can’t afford to make a mistake. Being proactive ensures that there is no data lost in your legacy property, and it ensures that tracking is identical across both implementations.
JavaScript code generally controls the cookie configuration in asynchronous analytics, but since so many settings in Universal are administered through the Google Analytics interface — not through cookies — a forced “auto-upgrade” could never begin to port your old asynchronous syntax into its corresponding UA options. That’s why we recommend a slow and measured simultaneous implementation of Universal while running your existing asynchronous tracking in parallel.
And while you’re cleaning house, you will want to take this golden opportunity to do it all using Google Tag Manager. Tag Manager will streamline your analytics management moving forward, and since Universal requires you to change your JavaScript syntax anyway, you might as well implement both at the same time. It’ll speed up your website, and it’s totally free.
Follow these Steps Now:
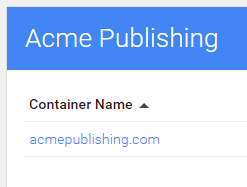
Step 1. Create a new Account in Tag Manager for your website(s).
First, login to Google Tag Manager and create an account, if you haven’t already. This account will hold “containers,” which will contain the tags for your website(s).
Step 2. Create a new Tag Manager container for your website.
Similarly, create a container for the website whose tracking code you want to upgrade. This container will hold all the tags, triggers and variables that are related to your website.
For a conceptual breakdown of what tags, triggers and variables do, refer to the Tag Manager Support Center. Spoiler: triggers dictate when particular tags will appear on what pages based on custom information retrieved by variables.
Step 3. Grab the GTM tracking code and place it on each page of your site.
In the sidebar, click on Users & Settings, then Settings, and grab the “Container Snippet” JavaScript code. This code includes the ID specific to your GTM container, and it needs to be placed immediately after the opening
tag throughout your website. Be sure to include it in the
and not in the
, and make sure that it appears on every single page.
From now on, you’ll be able to manage all your tags from inside Google Tag Manager! But we’re not done yet…
Step 4. Create a new Property in Google Analytics for your website. Select Universal Analytics.
It won’t be too long before this is the only option, but remember: you’re being proactive! Select “Universal Analytics”. This is when the fun begins.
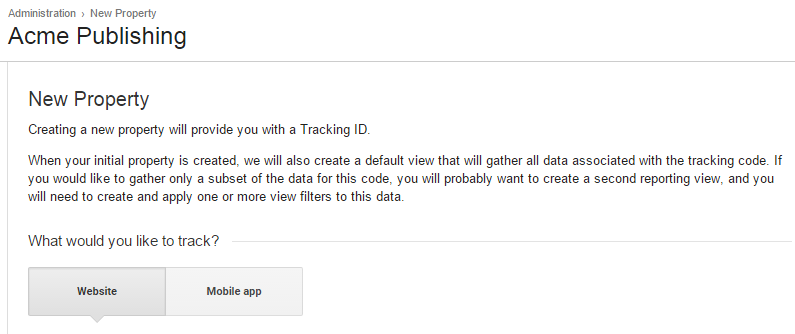

Step 5. Grab the UA-ID from the tracking code, and copy it to your clipboard.
You’ll need to hold on to this ID for later (Step 7).
Step 6. Create a new tag in Tag Manager for “Universal Analytics – beta”.
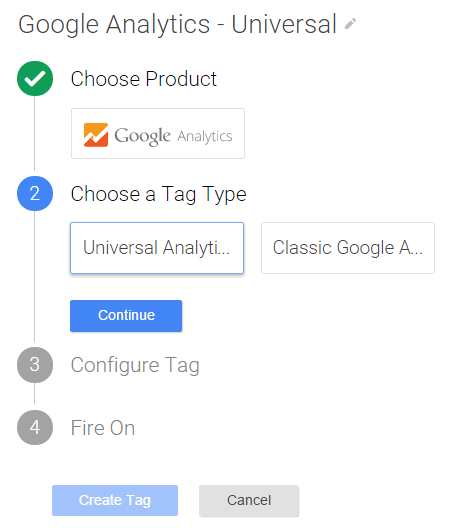
When you create a tag in Google Tag Manager, your first choice is to select the “Tag Type”. In this case, you want to select “Universal Analytics (beta)”. This tag will be the one that delivers your Universal tracking code on the pages of your choosing.
Step 7. In the Tracking ID field, paste in the UA-ID.
When you select the “Universal Analytics (beta)” tag type, the next option is for your tracking ID. Paste here the UA-ID from Step 6.
Step 8. Customize your advanced options on how you see fit.
The options here are pretty extensive, and growing all the time. You’ll want to come as close as possible to emulating your website’s current configuration, through the right combination of cross-domain tracking options, sample rate, etc. If you’re looking for specific instructions about which Tag Manager configuration settings correspond to which JavaScript syntaxes, the GTM documentation is a little sparse, but there are some good resources out there.
Step 9. Add the appropriate Firing Rule.

You probably want this tag to appear on “All Pages”, so select that rule.
Triggers are very powerful. You could create triggers that target just a particular section of your website. For example, you might want to create another tag which contains a differently-customized version of the Analytics tracker from Step 8 and apply that tag only on pages in a particular section, like your blog. Look into some of the great regular expression resources out there to use triggers to their fullest potential.
Step 10. Save the tag. Create a version. Publish the container.
Click the button to save. Click “Create a version”. Click “Publish”.
Bingo. You’ve just activated Universal Analytics using Google Tag Manager.
Step 11. Test that Universal Analytics is tracking properly by looking at your Real-time reports.
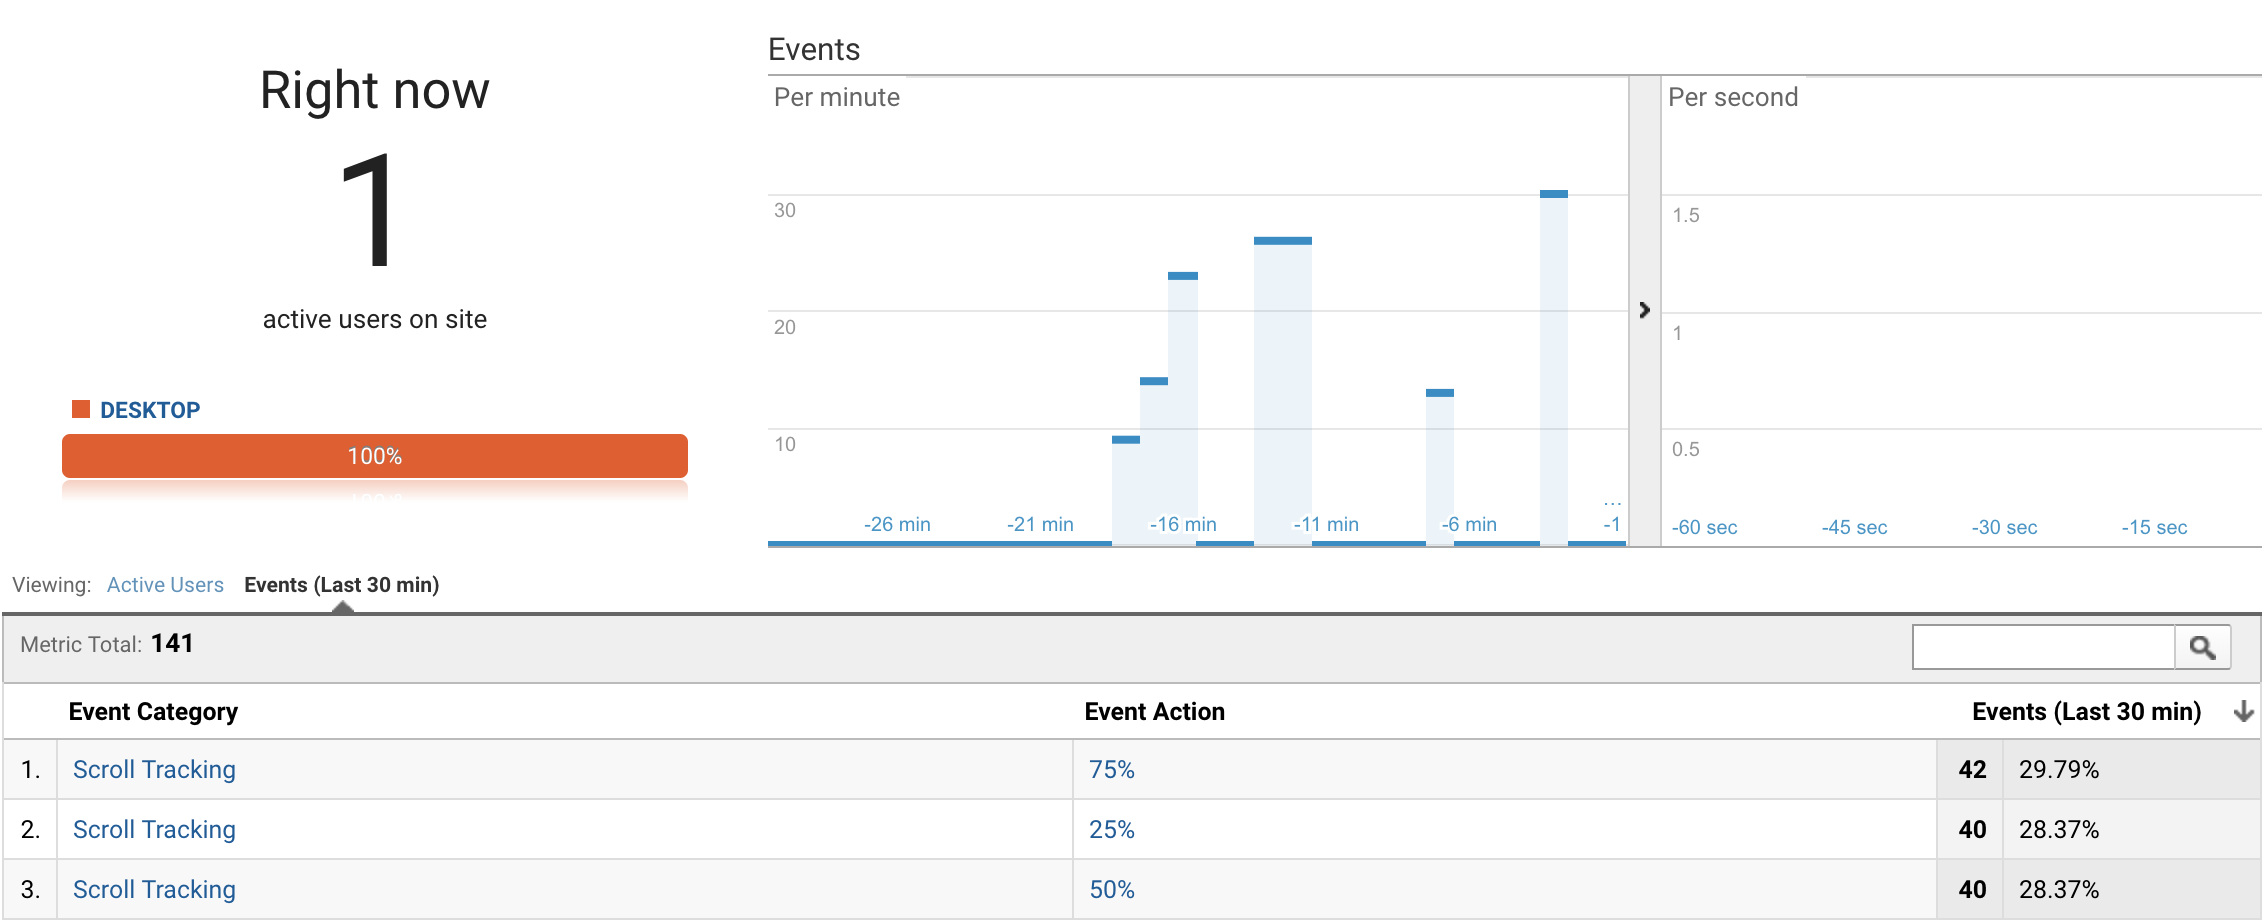
There’s no better way to test a new Google Analytics implementation than to use your Real-Time reports. Double-check now, before you get any further.
I’m not kidding. Check right now.
Step 12. Set up event tracking using Google Tag Manager, set up goals inside GA, create the proper View filters; etc.
Did you know that you can now use Google Tag Manager to add event tracking? This is another recent announcement from the GA Summit a few weeks ago, and the implications are huge for those of us who used to track link clicks and form submits using jQuery. Now Tag Manager can handle those events for us.
Step 13. Ride out the winter. (Wait.)
Test and Wait. You’ve done the hard stuff. Make sure everything is working, and ride out the proverbial and/or literal winter.
Who knows how long it will be before the auto-upgrade feature comes along, but now you’ll be prepared.
But you’re not done quite yet.
When the Upgrade Tool is available:
Update: All Google Analytics have been automatically upgraded to Universal Analytics at this point.
enhance
Step 14. When you are feeling confident in your data, upgrade your legacy asynchronous property to Universal Analytics.
In accordance with the above screenshot, we can assume that there will be an option in the Admin, under your old asynchronous Property settings, for “Universal Analytics Upgrade”.
Click it. Follow the directions to “transfer” to Universal Analytics.
Step 15. Remove all references on your website to the JavaScript tracking code, and copy this old UA-ID to your clipboard.
Hopefully, this only takes a few minutes, but you’ll need to (quickly) remove all references to your legacy Analytics tracking code. You’ll have to do it immediately because, for a few precious moments, your website will not be tracking into Google Analytics.
Grab your UA-ID and copy it to your clipboard. It is the value in your code that looks like this:
_gaq.push(['_setAccount', 'UA-xxxxxx-x']);
Some small part of you will die, but spring’s first thaw is almost here…
Step 16. Immediately log in to Google Tag Manager and change the UA-ID from your existing Universal Analytics tag to your old UA-ID.
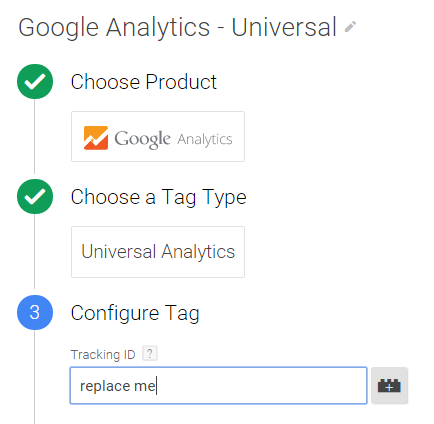
Quickly now: log in to Tag Manager and navigate to the tag you created for “Universal Analytics (beta)”. We need to change the Tracking ID for this tag to the good old legacy asynchronous UA-ID that you copied to your clipboard in Step 15.
Step 17. Save the tag. Create a version. Publish the container.
Almost there…
Step 18. Test that Universal Analytics is working by looking at your Universal Analytics Real-time reports.
Check those Real-time Reports one last time…
And… and…
Springtime is here!

You now have consistent historical data inside your old Google Analytics property, dating back to the first day of data collection and into the future.
Welcome to the glorious new age of Universal Analytics and simplified tag management!


