Tracking Page Prints With Google Tag Manager
Do you have pages on your site that users may try to print? For example, retail companies with brick-and-morter stores may be interested in knowing if users are printing out product details, coupons, or directions pages. Or publishers may want to know if users are printing their articles.
This can all be tracked with event tracking in Google Analytics. It requires some code (provided below) which is easy to implement in Google Tag Manager in about 10 minutes. Seriously.
A Little Background
This is nothing new. In fact, the code below is based on code from Eivind Savio. Although his original post with this code is no longer available, you can find it with the help of the Internet Archive right here.
And Eivind based his script on a script by TJ VanToll – Detecting Print Requests with JavaScript.
So I am standing on the shoulders of giants here.
However, Eivind’s script used the Classic version of Google Analytics. I was prodded by my colleague Dorcas to provide the version of the script I use for Google Tag Manager, which then also makes it easy to use with Universal Analytics.
Below are the step-by-step instructions for tracking print page requests with Google Analytics and Google Tag Manager, with some tips and important reminders at the end.
Step 1 – Create a Print Listener tag
This will add the ‘listener’ to all of your pages and listen for a Print to be triggered from the browser, from the keyboard, or from clicking on a particular link. If someone initiates a print, this script then sends an event to the data layer.
In Google Tag Manager, create a new tag. Choose Custom HTML Tag as the tag type.
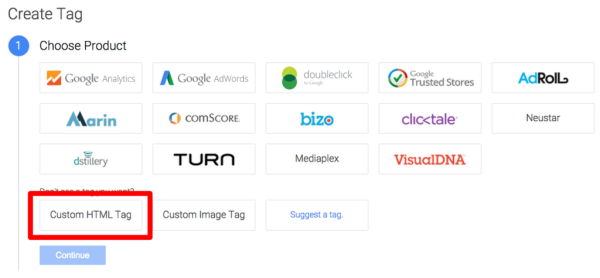
For the tag name, follow your own naming conventions or use Listener – Print Page.
For the content of this custom HTML tag, copy and paste the code below:
(function () {
var runOnce;
var afterPrint = function() {

    if (!runOnce) { // Because of Chrome we can only allow the code to run once.
        runOnce = true;
        dataLayer.push({'event': 'printPage'}); // Send Print Event to GTM
    };
};

if (window.matchMedia) { // Track printing from browsers using the Webkit engine

    var mediaQueryList = window.matchMedia('print');
    mediaQueryList.addListener(function(mql) {
        if (!mql.matches) {
            afterPrint();
        }
    });
}

window.onafterprint = afterPrint; // Internet Explorer

$(document).keydown(function(allBrowsers) { // Track printing using Ctrl/Cmd+P.

    if (allBrowsers.keyCode==80 && (allBrowsers.ctrlKey || allBrowsers.metaKey)) {
        if ($.browser.opera) { // Opera is a little different so we must send the afterPrint() function to get the tracking to work.
            afterPrint();
        }
    }
});

// Print activated using window.print() ex. from a button.
$('.printlink').click(function() {

    if ($.browser.opera) { // Opera is a little different so we must send the afterPrint() function to get the tracking to work.
        afterPrint();
    }
    window.print(); // If window.print() is activated in another script, you can remove it from this tracking script.
});
}());
For the Trigger, choose to fire this tag on All Pages, and click Create Tag.

Step 2 – Create a Google Analytics Event tag for page prints
After a print is triggered and our listener realizes it, we will use this tag to tell Google Analytics that someone has just printed.
Create a new tag, with Google Analytics as the Product.
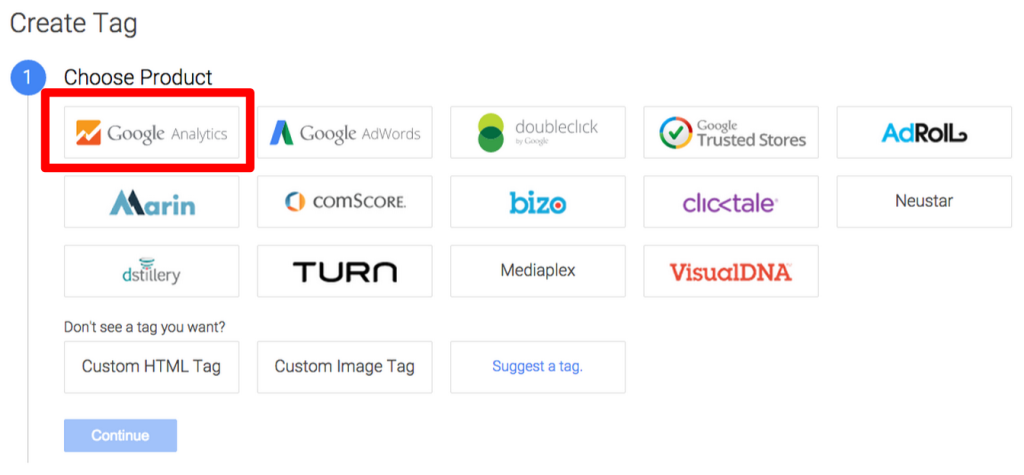
Next, choose the version of Google Analytics that you are using for your other Google Analytics tags. Hopefully, you’ll choose Universal Analytics. But if you need help upgrading to Universal from Classic, check out Google’s upgrade guide.
Next, name your tag following any naming conventions you already use. If you don’t have any naming conventions for your tags, I’d recommend naming it GA – Event – Print Page. Fill in the tracking ID for your Google Analytics web property (e.g. UA-12345-1), then choose Event as the track type.
For the event tracking parameters, you can follow any naming conventions already in use (or use the recommendations below):
Event Category – Print Page
Event Action – {{Page Path}}
Step 2.5 – Create The Trigger
Next, you’ll need to create a new trigger to tell GTM when to fire this event tag. For the Fire On step of the tag creation process, choose More.
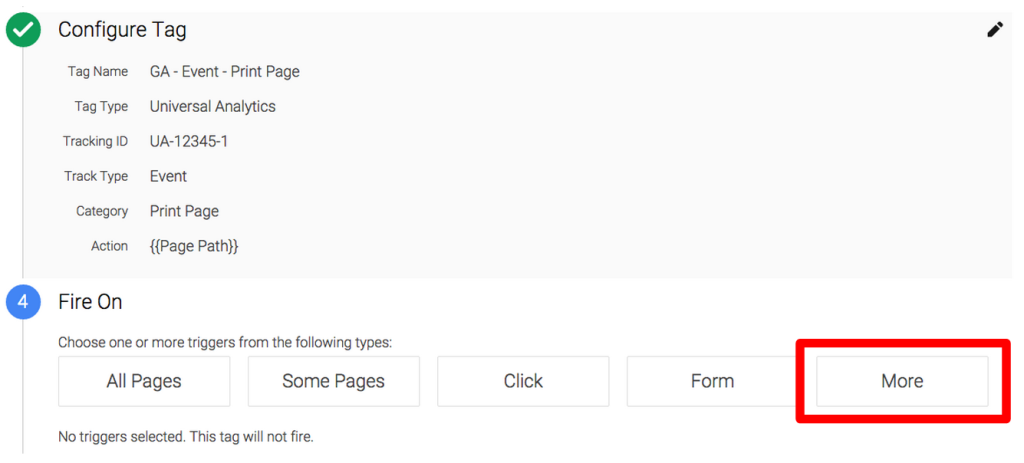
This lets you choose from existing custom triggers or create a new one. Choose New.

For the event, choose Custom Event. For the trigger name, I suggest Print Page.
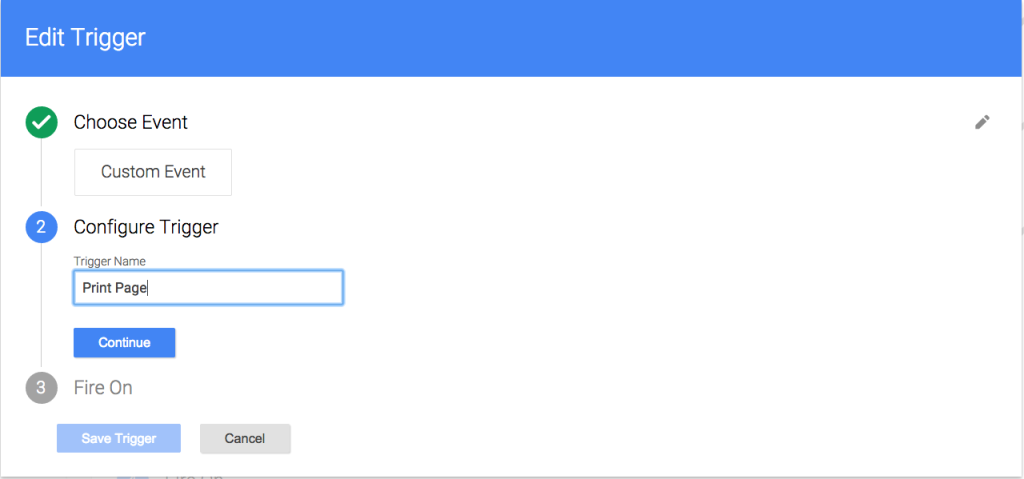
For the Fire On step, enter the event name printPage and save the trigger.
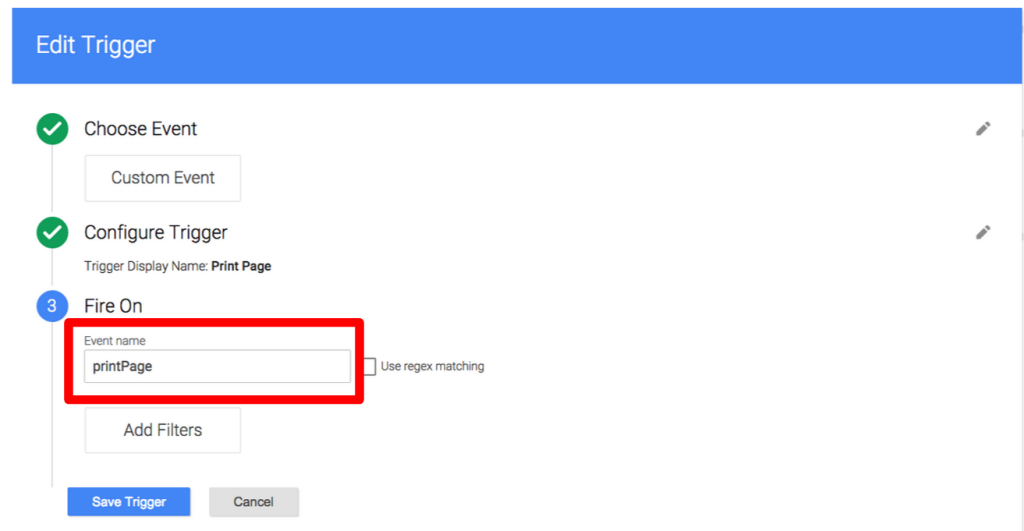
Now click on Create Tag to save/create this new event tracking tag.
Step 3 – Almost done!
All that’s left now is to preview and debug your new tags. Once they’re working as expected, create a new container version and publish!
Things to keep in mind
- The script in Step 1 above requires that you have jQuery on your site.
- It works regardless of how the user prints (clicking a print button on your site, right-clicking and selecting the print option, using the keyboard shortcuts of Ctrl+P (Windows) or Cmd+P (Mac), or using the browser options menu).
- There’s a section in the code that will track if someone clicks on a Print button with the class name of “printlink.” You can either add this class to your existing print button, change the class name in the script, or just ignore that part if you don’t need.
- It only tracks if the print dialog was initiated, but not if the user actually prints the page. If the user cancels out of the print dialog, it will still get tracked as a print. You may wish to rename your event category to Print Page – Intent (or something similar) to reflect this.
- It’s set to only run a maximum of once per page!


