Google Tag Manager Updates: Workspaces And User Interface
Some big changes have come to Google Tag Manager – the entire interface just got an overhaul and a much-desired new feature was unveiled today: Workspaces.
These changes were announced today on the Google Analytics blog, and signify Google’s continuing investment in growing the functionality of Google Tag Manager. These new changes are specifically targeted at the larger enterprise sites, helping to streamline workflow between multiple individuals and teams working in the same container.
That being said, even individuals working alone on small websites will immediately notice some changes and find value in the Workspaces feature.
A Few Visual Changes
Let’s start with a few of the interface changes.
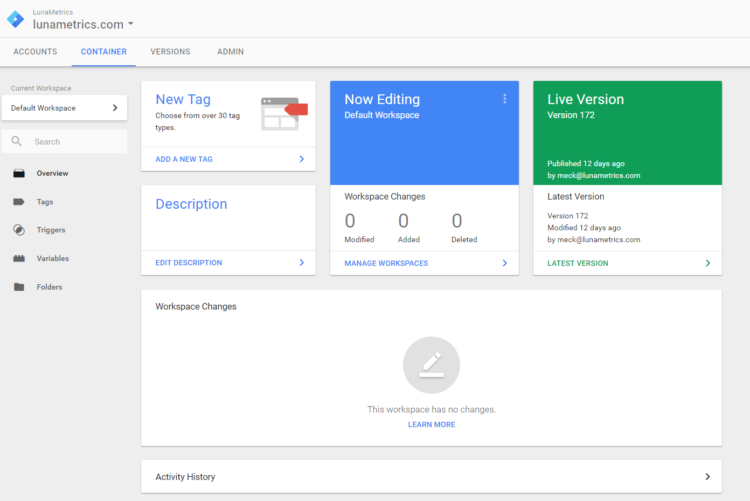
You’ll notice some terminology changes right off the bat on the Overview screen – but you’ll see the big differences on the Tags and Variables pages. For starters, the triggers are no longer color-coded on the Tags page. Instead, they are all gray with icons:
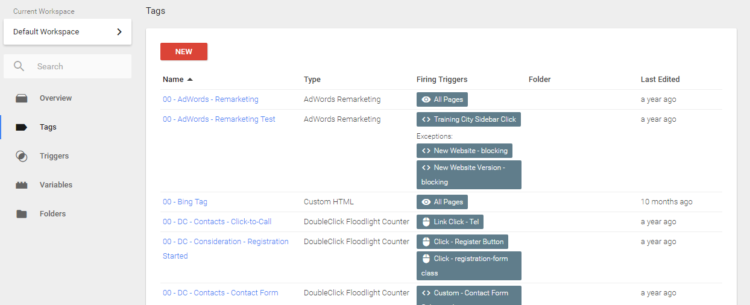
Personally, I miss the colors – it was much easier to tell apart types of triggers at a glance in my opinion, especially when looking for a general pageview tracking Google Analytics tag that fires on the All Pages trigger.
Additionally, the checkbox options are gone for the Variables page – we now have a page that lists the built-in variables, followed by the user-defined variables:
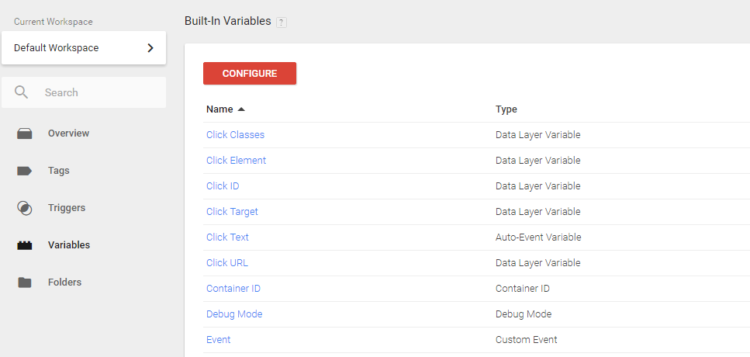
I already miss the checkboxes…
Sliiiide To The Left
Anyway, the most significant change comes in the form of the overlays that slide in from the right when you attempt to edit anything or create a new tag:
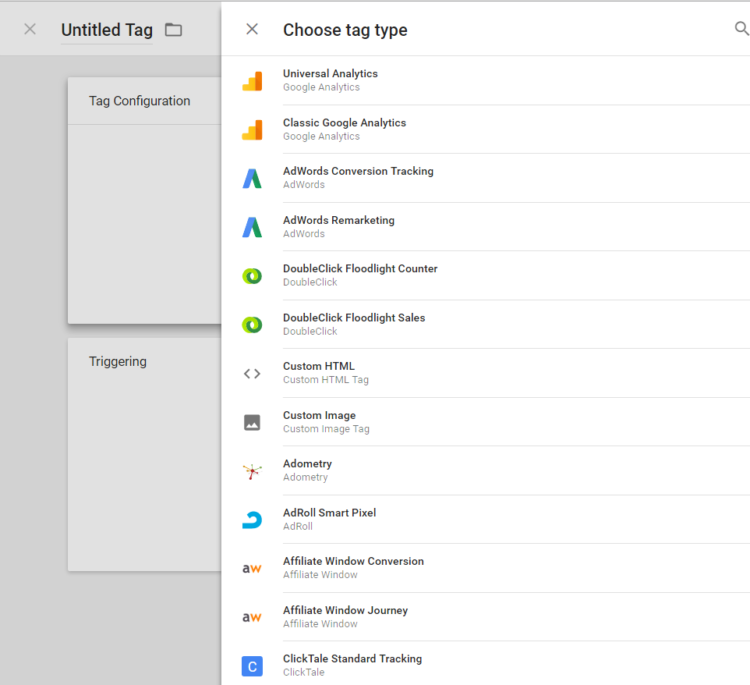
And once you start making edits to a tag, for example, you’ll probably end up seeing multiple overlays pop up on top of that one.
Note that the “X” to close the overlay is on the top left of the overlay – which seems backwards to me but perhaps it is no big deal to those of you on Macs. I had to accidentally click the “+” icon in the top right a few times out of habit before I could remember this little detail…
Name Before Publishing
Here’s an interface update that our Analytics Department Manager, Alex Moore, begged for personally at the last Google Analytics Summit.
We preach consistent naming strategies and note-taking as best practices and it’s now easier than ever to remember to name your Containers. You’ll actually get reminded every time you publish, TWICE!
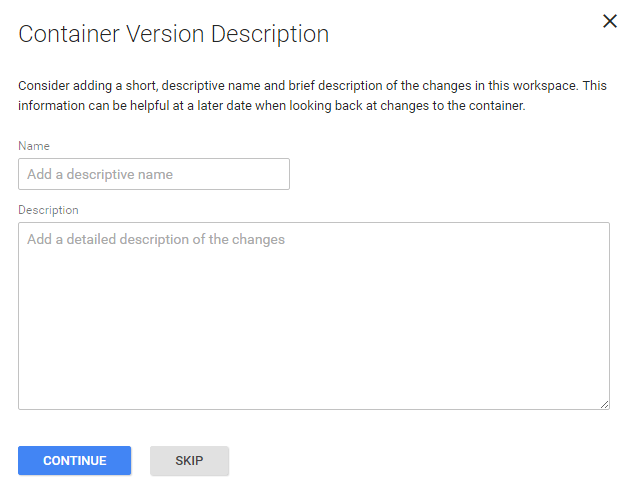
It is yet to be seen whether these updates improve the experience and functionality of Google Tag Manager, but there are a couple benefits to point out. For example, you can now enable variables on the fly while updating tags and triggers.
Most importantly, however, all of these updates are part of the GTM upgrade that brings you Workspaces.
What Exactly Are GTM Workspaces?
If you’ve been wishing for greater version control and more efficient collaboration with others inside of GTM, you’re going to love Workspaces. And if any of the interface updates are driving you as batty as they are driving me, believe me – Workspaces are completely worth it!
Workspaces allow you to make updates to a specific instance of your GTM container – while others can work on a separate instance of your container at the same time. When one of you needs to publish your updates, they can be merged together first.
Rolling out immediately, Google Tag Manager 360 customers will be able to create unlimited workspaces within their containers, while free Google Tag Manager users will be limited to three concurrent workspaces (which will still be very helpful!)
Take a look at Google’s documentation for some background information, but we’ll go through some of the key steps together.
Meeting the New Workspaces
Once Workspaces have been enabled in your GTM container, click on the Default Workspace link on the left-hand side of the screen:
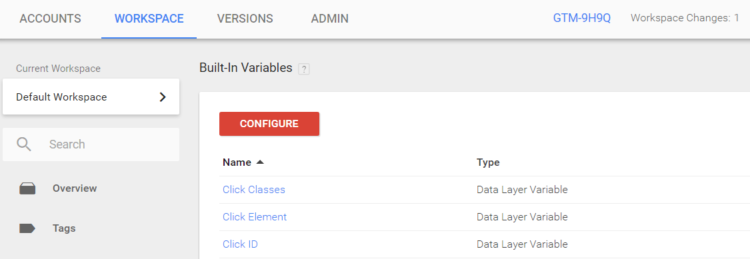
This will open the available Workspaces in your container, via an overlay once again:
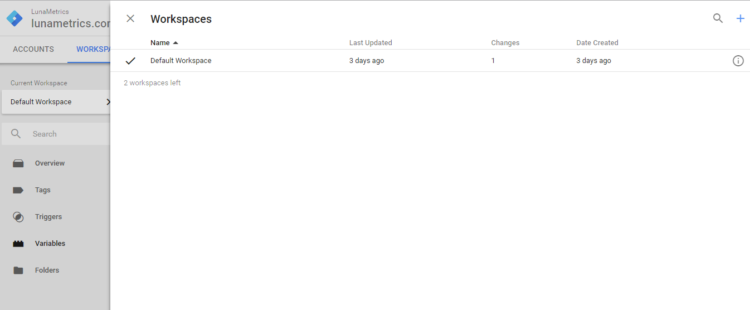
Here you’ll see the Default Workspace to get started, but you can create new Workspaces for different teams or purposes. For example, perhaps you have a team of colleagues working on advertiser vendor tags, and you have another colleague who is working on some complex analytics tracking with a lot of custom javascript. You’ll likely want to provide separate Workspaces for these different types of updates.
For one-off changes here and there, your Workspace may be temporary – you can delete them after you have completed your updates, merged and published. Or, you may wish to set up different Workspaces as a means to organizing different types of updates. For example, you may wish to maintain a Workspace for advertiser tag updates if you’re continually changing and adding new vendor tags.
Setting Up Workspaces
Creating a new Workspace is pretty straightforward – enter a Workspace name and description:
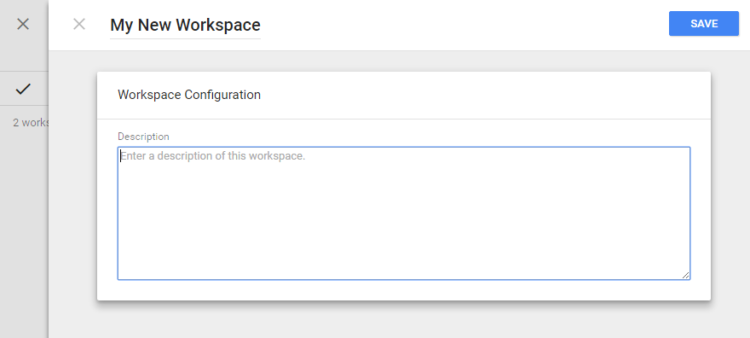
Creating a new Workspace is essentially creating a separate instance of your current GTM container configurations. All of the tags, triggers and variables you already have will exist in this Workspace, but all additions or edits you make will only apply to this Workspace until you are ready to publish them.
Publishing A Workspace
The first step to publishing your updates within a Workspace is to create a new version of the container.
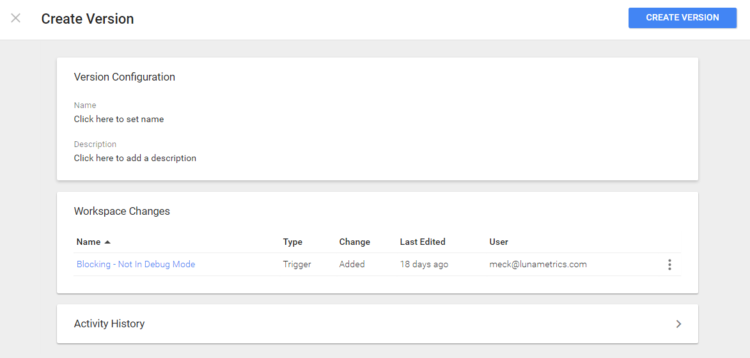
Once the new version is created, the Workspace is automatically removed and there will immediately be a notification that appears at the bottom of your screen telling you to update the other existing Workspaces:
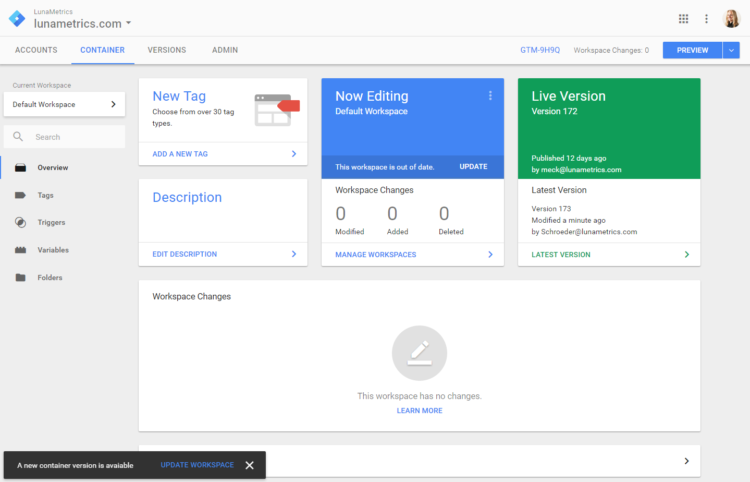
What this means is you need to merge the updates in your recently created version with the other Workspaces so that they can all align once again.
If for whatever reason you miss this notification, no worries – you can also select UPDATE from the Overview screen where a similar notification now appears:
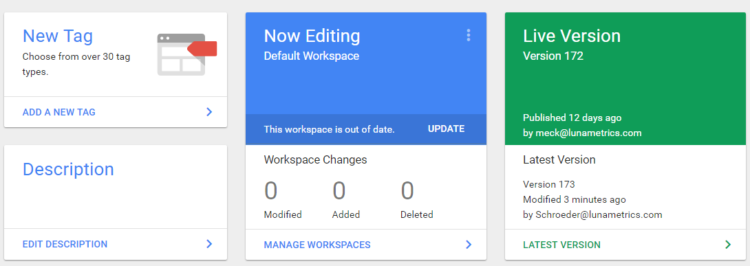
Check for this notification each time you come back to GTM so that you can be aware of recent updates.
Click on the UPDATE link and GTM will show you a recap of the changes that were made and let you know if you have any conflicting updates between your recent changes and the existing configuration of the other Workspaces. If you have conflicts, you will need to either merge or overwrite those changes before you can publish.
Once you have successfully merged your updates with the other Workspaces, they will reflect your recent changes and you will be able to publish the container.
Conflict Resolution
I mentioned it above, but Workspaces includes built-in conflict resolution. It will help show you any differences between Workspaces and make it easy for you to copy over changes to your current Workspace or reject the changes.
In short: Awesome.
Summary
While some of the interface changes in GTM might take a little getting used to, GTM Workspaces definitely add exciting new capabilities to GTM.
Keep in mind that permission levels have not changed with this update – you still can only apply them at the Account or Container level. You do not have the option to provide individual users with access to certain Workspaces only.
For another detailed post on Workspaces, check out the fastest Google Tag Manager blogger in all of Finland, Simo Ahava, and his guide to Workspaces.


