The Information Architecture of Usability Testing

Usability testing is one of the most vital aspects of user experience (UX) design. You’re pulling a slice of the population into your world as a designer, letting them be privy to potential product overhauls, giving them the power to help decide if designs molded by hours of hard work will see the light of day, or if it’s back to the drawing board.
Considering the information architecture of your usability tests is critical to their success — without a structure to follow, you may forget to complete a crucial step in the process, and miss out on valuable findings that could impact the project’s overall outcome. Below, I’ve outlined how I’ve come to understand the pillars of the practice.
As a UX designer, I’ve participated in a number of projects that incorporate usability testing: by bringing this technique into my developing methodology, I’ve gained a sense of the structure and shape of the practice, and how those guidelines relate to user experience as a whole.
Purpose and Prototypes
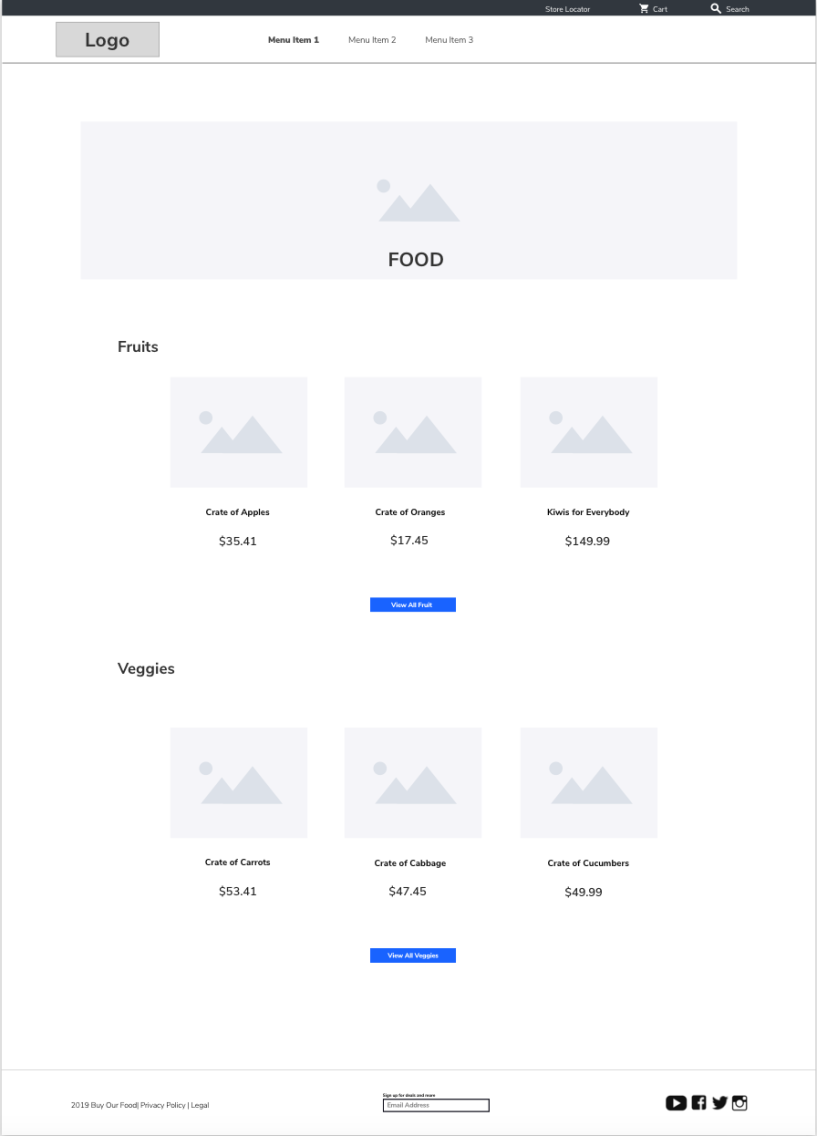
First, you need to have a purpose for testing, as well as a deliverable you’d like to test, such as a prototype. You want to know the why, who, and how: What was the reason for the test in the first place? Were users having difficulty navigating to a certain page? Were you asked to test two separate layouts? Find the overarching reason behind why the usability test is needed, then create a prototype that fulfills the scenario you need to test.
When creating your prototype, make sure that it’s functional and includes all the aspects you’d like to evaluate. For example, if you want to see if users can navigate to a certain page, you need to have a way for the user to find that page as part of your protocol (more on that next). When it comes time to start testing, having a fully fleshed-out prototype will set you up for success.
Testing Protocols
Once you have your purpose and prototype, you’ll want to get started on your protocol. A clearly defined test protocol serves as a guide to what tasks your participants will complete during their session: they should state the approximate amount of time that will be spent on testing and the requirements for participants, and as well as the test objective.
This is also an opportunity to go deeper, with follow up questions and prompts for you to say to the participant. These prompts and questions are useful for gaining not only qualitative information, but encourage the participant to dig deeper, going beyond their initial thoughts and expounding on what may have previously been a narrow answer.
Creating testing protocols is the time to call out any assumptions you have about the process, and validate your approach: for example, make sure to specify if you are conducting moderated or unmoderated usability testing. Figure out if testing will take place in person or if testing will be remote. Also, be aware that usability test sessions usually include a minimum of two people, with one person moderating and the other person observing and taking notes. Feel free to assign roles so that there is no confusion on who is doing what on the day of the test.
Google Docs are a great way to create test guides, as they are easy to share with your team, take notes on the fly, and collaborate. If you’d like to use our sample test guide, simply make a copy by going to file and selecting make a copy.
Technology (and Technical Difficulties)
Once you have your test protocol squared away, you’ll want to choose a software that allows you to record your testing sessions, whether they’re audio, interactions with a site or module, or some other reaction: you need a program that tracks how your users interact with the scenario. Some of the more popular programs include Validately and Userlytics.
Before completing any usability test sessions with actual participants, you’ll want to work with your team to run a pilot session or two with the user testing software. These pilot tests will help you become familiar with how you will conduct a test when it’s time to run them on real participants. That being said, no matter how comfortable you become with the software, you should always be prepared for technical difficulties. There might be a glitch that freezes everyone’s screen while you’re introducing yourself to your participant, or you could experience WiFi failure in the middle of a task. In instances like these, remain calm and learn how to take it in stride. See if there are any ways to quickly remedy the situation and resume the usability test with your participant. Try out all possible options in an attempt to resolve the issue, or come up with a back-up plan as part of the testing protocol — if the WiFi dies, what do we do next? Should we bring a mobile hotspot, or can we conduct the test with paper diagrams? If absolutely nothing is working, reschedule your testing session for another date.
The Test
While running your usability sessions, you might experience a few speed bumps, such as a participant that doesn’t show up during their assigned time, or a shy participant who isn’t too keen on providing verbal feedback. Be proactive: if someone doesn’t attend their session, reach out and see if you can reschedule if time allows. Quiet participant? Gently remind them to speak freely, and reassure them that there is no wrong answer; any thoughts or opinions will help create a better user experience. Hopefully, most of your usability testing will go according to plan, but if you do experience something unexpected, don’t sweat it. It’s part of the process and happens to everyone.
Findings and Synthesis
While there is no one way to do analysis, this method has worked well in previous projects where I’ve been involved: once your team has completed all testing sessions, go back and review all the recordings. Going over them will help you to look for actions or listen for opinions that you may have missed the first time around. Try to make this step as manageable as possible. If you have multiple people on your team, divide the recordings amongst yourselves so one person doesn’t end up reviewing everything — this is more efficient, and helps everyone keep a fresh mind.
While synthesizing, try to keep a single folder containing testing notes and a synthesis spreadsheet where everyone can add their findings from the testing sessions they reviewed. By doing this, your team will have a central location where all testing documentation is housed and won’t have to hunt down files or feedback.
Analysis and Report
Once everyone has finished synthesizing their notes, you’ll want to schedule a team meeting so that all team members can come together and analyze the major findings.
Use this time to also discuss other patterns you may have missed while conducting the tests, but noticed after watching the footage. From here, your team can move towards creating a report that contains all the findings and patterns, as well as what recommendations you have moving forward. Having a set of recommendations gives you an agenda to discuss with your client when you share your results and gives your team a basis and game plan for future design sprints.
Usability Testing is Key
Although parameters and details vary, usability testing is key to evaluating and iteratively improving design. As you continue to develop your practice, I hope that this serves as both a reference point and springboard; a way to cover the bases, inspire questions, and create tests that uncover insights and move experiences forward.


